Make Your Own Shrinky- Dinks!
I just loved, loved, LOVED Shrinky Dinks as a child and remember doing them all the time with my mother and sister. I saw a box of Shrinky Dinks on Amazon last week and just couldn't resist buying some to do with my boys.
I knew they would love it as much as I did. I had not planned on turning it into a lesson; just thought we'd have some fun making a craft project together. However, I started googling how it all worked and found a few articles on making your own Shrinky Dinks. I thought it would be great if we did both!

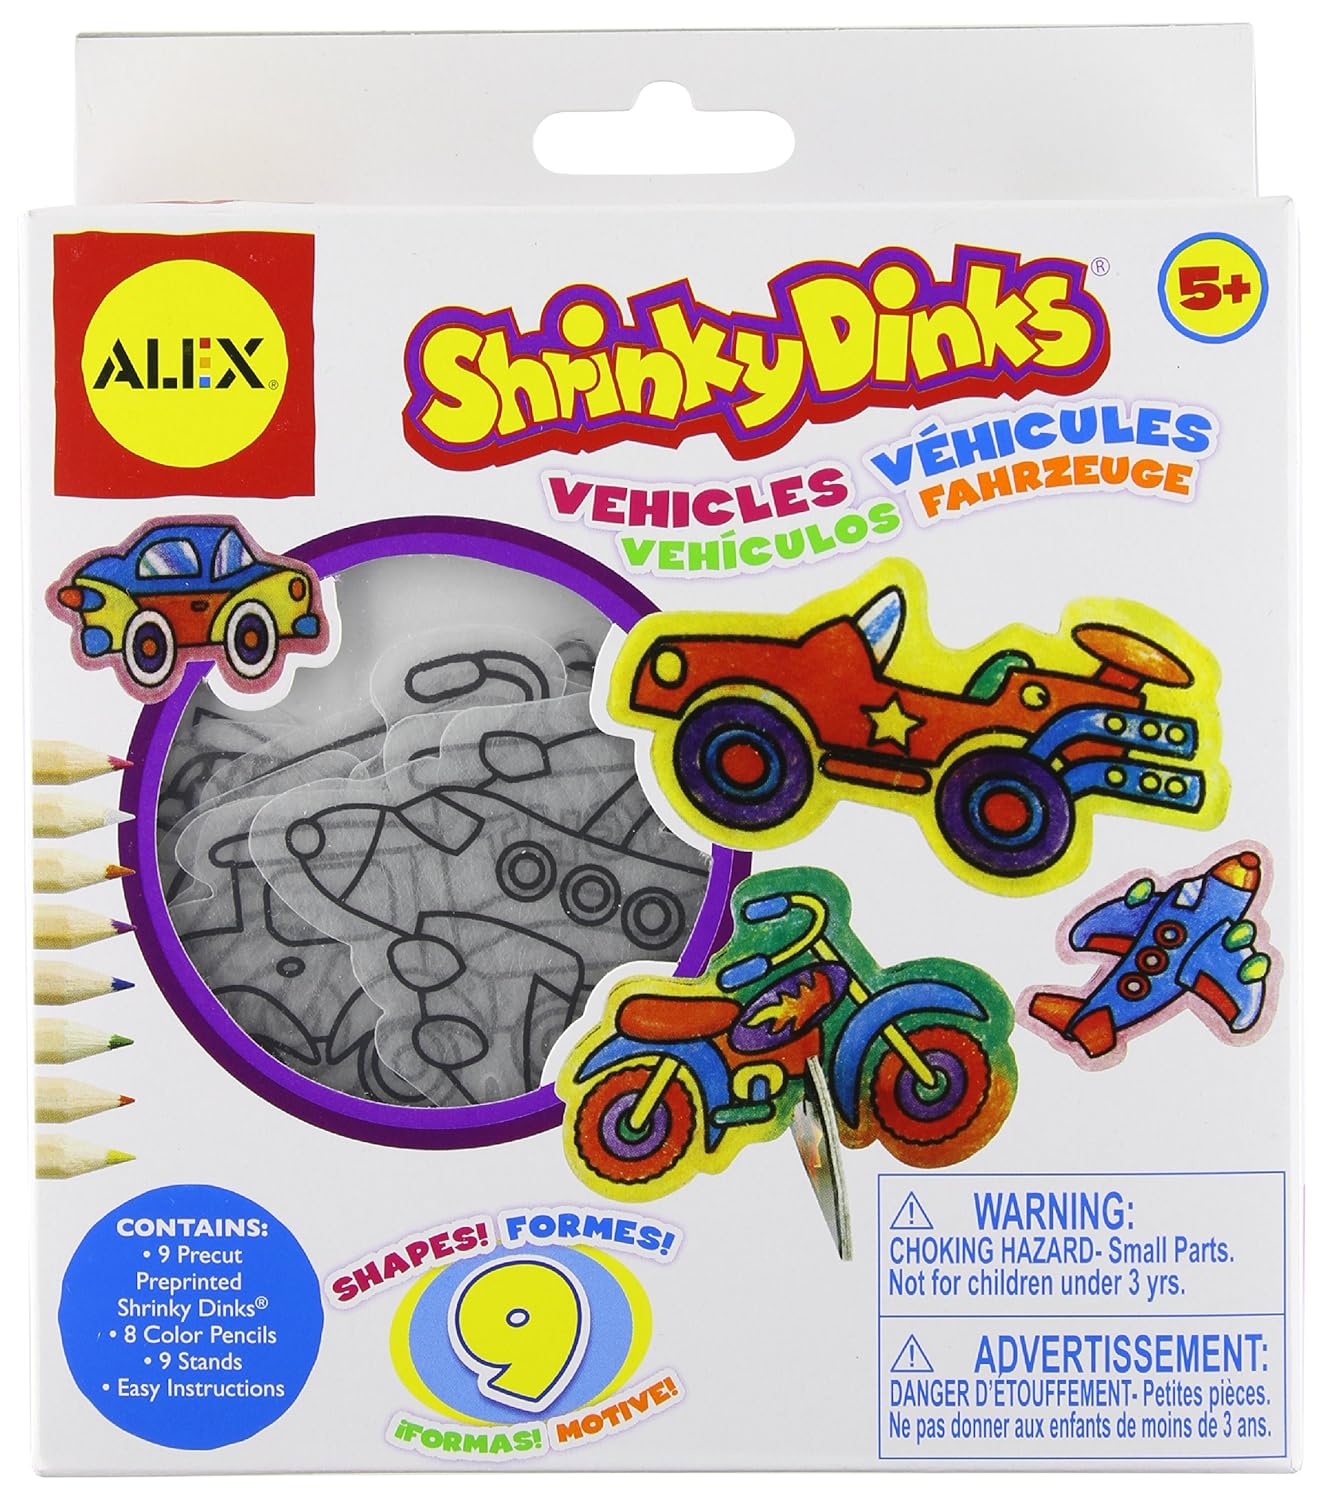
There are so many cute, pre-made, varieties of Shrinky Dinks to choose from and I knew my boys would love this vehicle set. (Though Alec would have preferred something with animals I'm sure!)

This morning found us coloring and gathering around the oven to watch them magically shrink.
But, of course, I couldn't leave it as magic.
We had to discuss the science behind them; which I found by googling "the science behind Shrinky Dinks." I found a few good articles on why and how like the one here which actually explains how to make your own Shrinky Dinks with recyclables from around the house!
This site recommends the activity for middle schoolers, but I don't usually worry about the age range of any activity; if my kids enjoy it and are engaged learning must be taking place! And since it was art, like Alec requested and science like Ian requested I knew they would be.
We didn't have any number 6 recyclable bottles but I did have some crafting sheets that I used for my own crafting projects that were meant to be shrinkable. We used rubber stamps to stamp an image on the sheet, color them in and then cut them out.
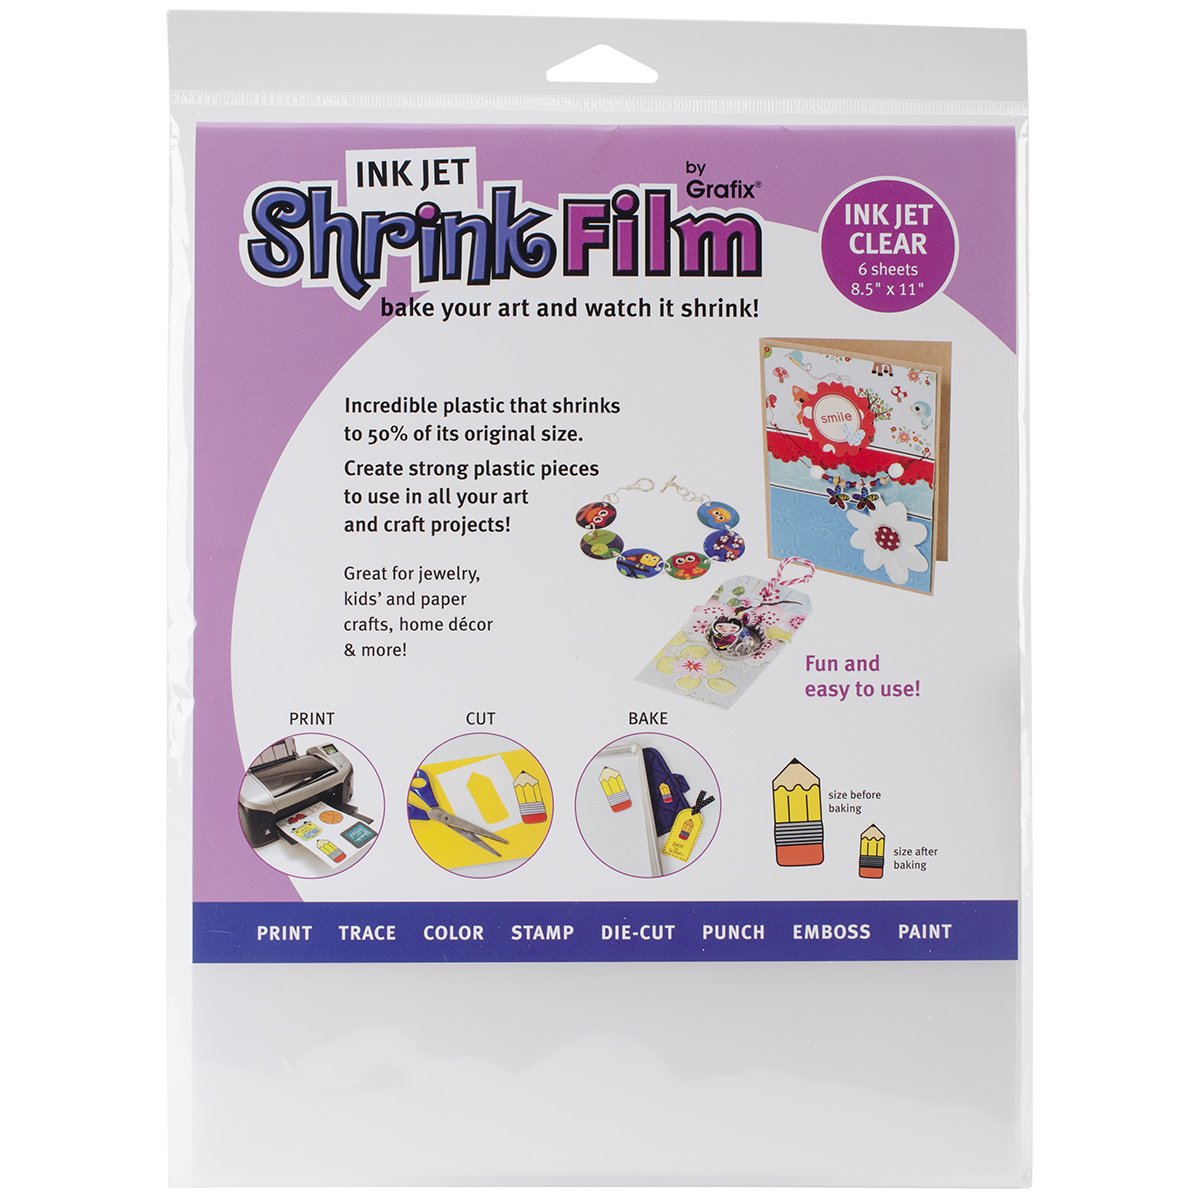

If you do have your own number 6 plastic you want to cut them out into flat sheets and use sand paper to rough up one side of the plastic; this is the side you want to color and stamp on. Roughing up the plastic allows it to grip the color.
You can cut out random shapes or use a rubber stamp with ink that is meant to be used on plastic. (We used StazOn). Color designs in with colored pencils and make sure to punch any holes you might want BEFORE heating them up.
Place the finished designs in a 350 degree oven on a nice, flat cookies sheet, for just a few minutes. Then watch them bubble and shrink. It usually only takes 3-5 minutes.
It really does look like magic!
Linking Up With:

I knew they would love it as much as I did. I had not planned on turning it into a lesson; just thought we'd have some fun making a craft project together. However, I started googling how it all worked and found a few articles on making your own Shrinky Dinks. I thought it would be great if we did both!

There are so many cute, pre-made, varieties of Shrinky Dinks to choose from and I knew my boys would love this vehicle set. (Though Alec would have preferred something with animals I'm sure!)

This morning found us coloring and gathering around the oven to watch them magically shrink.
But, of course, I couldn't leave it as magic.
We had to discuss the science behind them; which I found by googling "the science behind Shrinky Dinks." I found a few good articles on why and how like the one here which actually explains how to make your own Shrinky Dinks with recyclables from around the house!
This site recommends the activity for middle schoolers, but I don't usually worry about the age range of any activity; if my kids enjoy it and are engaged learning must be taking place! And since it was art, like Alec requested and science like Ian requested I knew they would be.
We didn't have any number 6 recyclable bottles but I did have some crafting sheets that I used for my own crafting projects that were meant to be shrinkable. We used rubber stamps to stamp an image on the sheet, color them in and then cut them out.
 |
| Using the store bought Shrinky Dinks here |

If you do have your own number 6 plastic you want to cut them out into flat sheets and use sand paper to rough up one side of the plastic; this is the side you want to color and stamp on. Roughing up the plastic allows it to grip the color.
You can cut out random shapes or use a rubber stamp with ink that is meant to be used on plastic. (We used StazOn). Color designs in with colored pencils and make sure to punch any holes you might want BEFORE heating them up.
Place the finished designs in a 350 degree oven on a nice, flat cookies sheet, for just a few minutes. Then watch them bubble and shrink. It usually only takes 3-5 minutes.
It really does look like magic!
Linking Up With:


Neat! I didn't realize you could make your own!
ReplyDeleteI made Shrinky Dink buttons 25 years ago. Beautiful!
2ut
Thanks.
Deletethese are fun aren't they? Thanks for sharing with us at #CCBG
ReplyDeleteIt's like magic; how can it not be fun? :)
DeleteThis is brilliant. I want a turn! haha #TriumphantTales
ReplyDeleteThis is brilliant. I want a turn! haha #TriumphantTales
ReplyDeleteThanks! It's a lot of fun.
DeleteI'm not convinced shrinkydink is a brand in the uk but I totally get the concept. We used to shrink crisp packets as a kid, hours of fun!! Thank you for linking up to the #familyfunlinky
ReplyDeleteThanks for stopping by!
Delete